Drawing penguins is both a fun and rewarding”drawing:w1epl5fltma= penguin” experience for artists of all skill levels. These charming, flightless birds have a distinctive appearance that makes them instantly recognizable, making them an excellent subject for artistic expression. Whether you are a beginner or an experienced artist, drawing a penguin can be a delightful project, especially when you add your own unique style to the process. In this article, we will guide you through the techniques required to master the art of drawing a penguin, while also providing helpful tips, insights, and transition points that will make your journey smoother and more enjoyable.
Understanding the Anatomy of a Penguin
Before diving into the drawing process, it’s essential to”drawing:w1epl5fltma= penguin” understand the basic anatomy of a penguin. Penguins have a distinctive body structure that sets them apart from other birds. Their sleek, streamlined bodies are designed for swimming, and their flippers, short legs, and webbed feet contribute to their iconic look.
First and foremost, penguins have a round head that”drawing:w1epl5fltma= penguin” connects smoothly to their slightly oval-shaped bodies. Their flippers are narrow and resemble arms that extend outwards. Moreover, penguins have short, stumpy legs and feet that appear closer together, giving them their characteristic waddle when they walk on land. Lastly, their black-and-white tuxedo-like coloring is another notable feature, adding to their sophisticated yet adorable appeal.
Understanding these key features will help you better depict a penguin in your drawings. By breaking down the penguin’s structure into simple shapes, such as circles and ovals, you can easily create a proportionate and balanced sketch.
Beginning the Sketch: Starting with Basic Shapes
To start drawing a penguin, begin with the basic shapes that make up its form. This step allows you to create the foundation upon which you’ll build the more detailed features of your penguin.
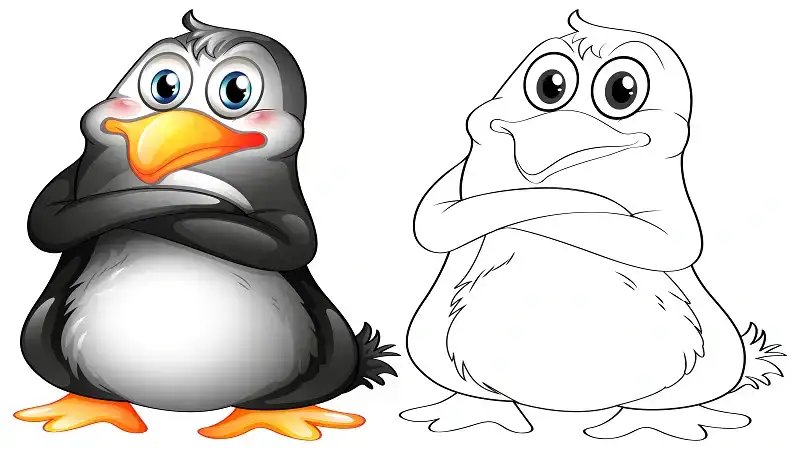
- Draw the Body: Begin by drawing an oval shape for the penguin’s body. The body should be longer vertically than it is horizontally, as penguins have an elongated form. This oval will serve as the base of the penguin’s figure.
- Add the Head: Next, draw a smaller circle on top of the oval for the penguin’s head. Ensure that the head is proportionate to the body, and position it slightly overlapping the top part of the oval. This will help create a smooth connection between the head and the body.
- Outline the Flippers: On each side of the oval, draw two elongated shapes for the penguin’s flippers. These shapes should extend outward slightly, as penguin”drawing:w1epl5fltma= penguin” flippers are narrow and pointy at the ends.
- Draw the Feet: At the bottom of the oval, add two small ovals for the penguin’s feet. Penguins have short legs and”drawing:w1epl5fltma= penguin” webbed feet, so keep these ovals relatively close together.
- Mark the Beak: Draw a small triangular shape at the top of the head for the beak. Penguins typically have short, sharp beaks that point slightly downward.
This initial sketch serves as a skeleton for your drawing and will guide you as you begin adding more details and refining the shapes. Transitioning to the next step involves making the penguin come to life by refining its features and adding more definition.
Refining the Details: Bringing the Penguin to Life
With the basic outline of your penguin complete, it’s time to refine the details. This step will help transform your simple shapes into a more realistic and recognizable penguin.
- Shape the Head and Body: Begin by smoothing out the connection between the head and the body, blending the two shapes into one cohesive form. You can add a slight curve where the head meets the body to give the penguin a more natural look.
- Define the Flippers: Add more definition to the flippers by curving the ends slightly. The flippers should taper toward the tips, making them look sleek and narrow.
- Detail the Beak and Eyes: Now, refine the triangular shape of the beak, adding a little curve to make it more natural. Draw two small oval shapes for the eyes, positioning them symmetrically on either side of the head. You can shade in the pupils to make the penguin’s gaze more expressive.
- Outline the Feet: Add some webbed details to the ovals that represent the feet. Penguins have distinct webbing between their toes, so drawing curved lines within the feet will give them more definition.
- Add the Belly Pattern: One of the most recognizable features of a penguin is its black-and-white coloration. Draw a curved line down the middle of the penguin’s body, marking where the black back and white belly meet. This tuxedo-like appearance is characteristic of most penguin species and adds to their charming appeal.
Adding Depth and Texture: Shading and Color
Once you have completed the refined sketch, the next step”drawing:w1epl5fltma= penguin” is to bring your penguin to life by adding depth, texture, and shading. This stage of the process allows your drawing to appear more realistic and three-dimensional.
- Shading the Flippers and Body: Start by shading the darker areas of the penguin, particularly the back, flippers, and head. Use cross-hatching or blending techniques to create a smooth transition between the dark black feathers and the lighter white belly.
- Highlighting the Penguin’s Features: Add light shading around the penguin’s eyes and beak to give these features more dimension. The small details, such as subtle highlights around the flippers and feet, will make your penguin appear more lifelike.
- Blending the Colors: If you’re working with colored pencils or digital tools, blend black and white tones to emphasize the contrast between the penguin’s black back and white belly. Adding a slight bluish tint to the penguin’s black feathers can enhance the effect of light reflecting off the penguin’s body, making it appear shiny and sleek.
- Refining the Eyes and Beak: Penguins have bright, expressive eyes that often give them a curious look. Make sure to add some highlights to the pupils to give your penguin a more lively expression. You can also add small reflections on the beak to capture the texture of its surface.
Adding the Final Touches: Personalizing Your Penguin
Now that you have completed your penguin”drawing:w1epl5fltma= penguin” drawing, it’s time to add your final touches. This is where you can personalize your penguin and make it stand out. You might want to add a background that depicts the penguin’s natural habitat, such as snowy terrain or an icy ocean. Additionally, you could play with different textures and shading techniques to give the penguin unique details.
Transitioning from a basic outline to a fully realized drawing allows you to develop your own artistic style while refining essential drawing techniques. Drawing penguins can be a delightful experience, especially when you see how much life and character your creation takes on through each step of the process.
Conclusion: Embracing the Art of Drawing Penguins
In conclusion, drawing a penguin offers a wonderful opportunity to”drawing:w1epl5fltma= penguin” practice various artistic skills while working on a subject that is both fun and visually appealing. From the initial sketch to the final touches, each step in the process allows you to build your confidence as an artist and develop a unique interpretation of these charming birds. Penguins, with their distinctive appearance and adorable demeanor, make for a perfect drawing subject whether you’re a beginner or a seasoned artist. See More